.jpg)
Fall is the favorite season of Basic Bitches across the world. The turn of seasons allows every self-respecting Basic Bitch to proclaim that she "doesn't know why, but something about the autumn leaves makes her want to curl up in a cozy sweater with a good book and a mug of tea." After suffering through the long summer months, it is finally time for her to shed her Nasty Gal crop top and don her favorite 'Lulu' leggings and Uggs.
But lest we forget the most important part of the BBC (the Basic Bitch's Credo, not the British Broadcasting Corporation). The pillar upon which every Vera Bradley-wielding, Fifty Shades of Grey-reading girl has built her altar to Autumn. The Pumpkin Spice Latte.
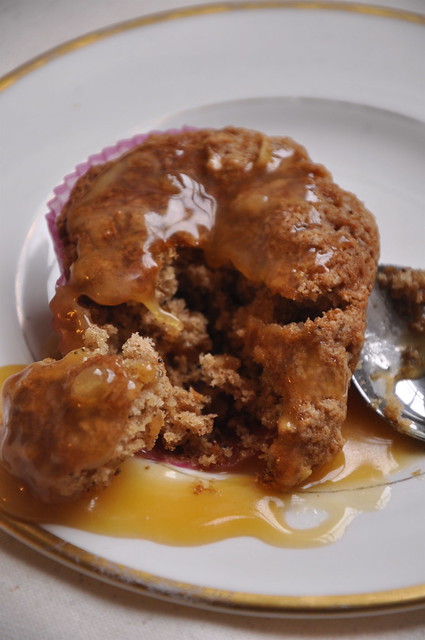
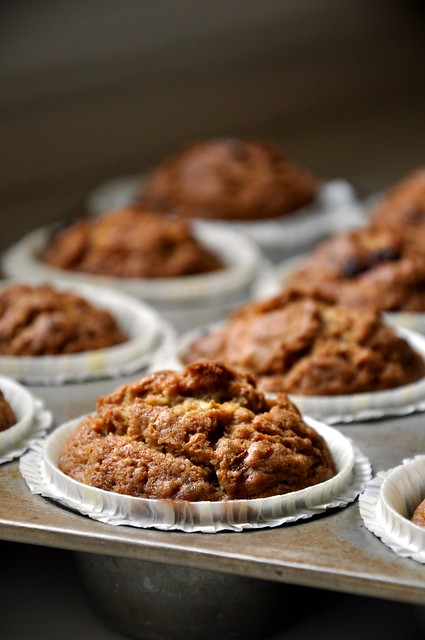
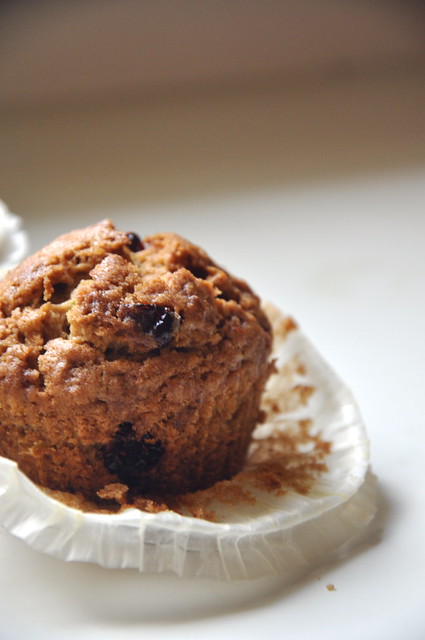
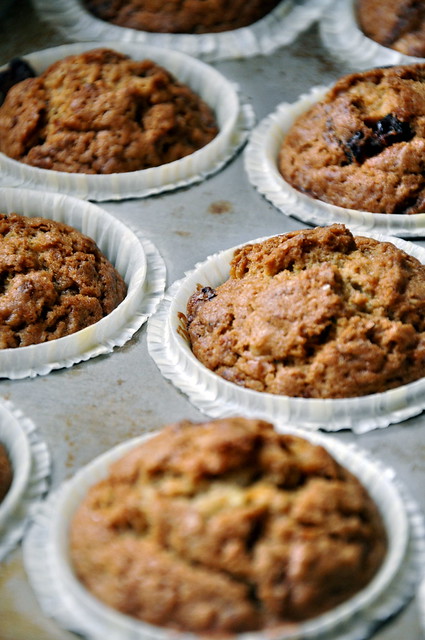
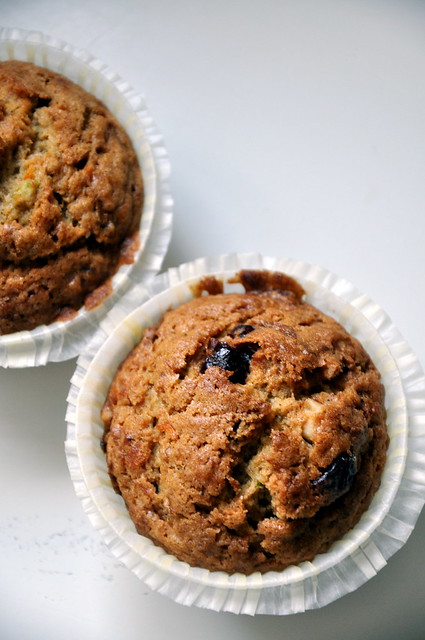
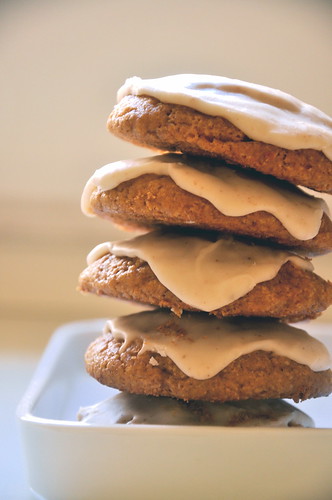
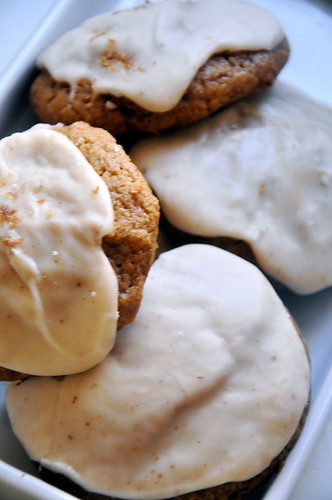
Once Labor Day has come and gone, the inundation of snapchats, Instagrams, and tweets about their "favorite time of year ;)" begins. And I begin to bundle up. Not to brace myself against the dipping mercury, but rather to drown out all of the basic. I need something to get me through, and these are my answer. These muffins are the Pumpkin Spice Latte of the Basic Bitch's wilder cousin, the Bad Bitch.
.jpg)
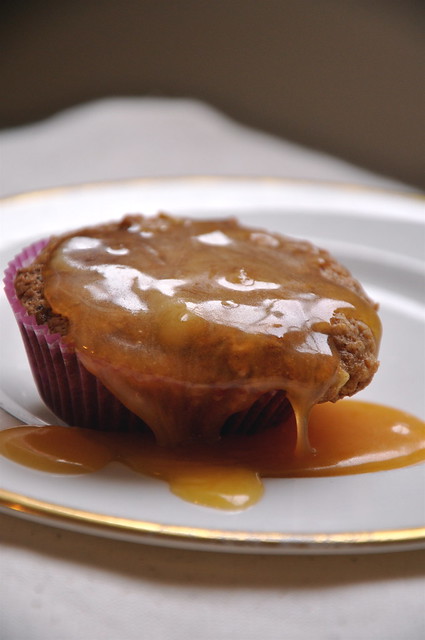
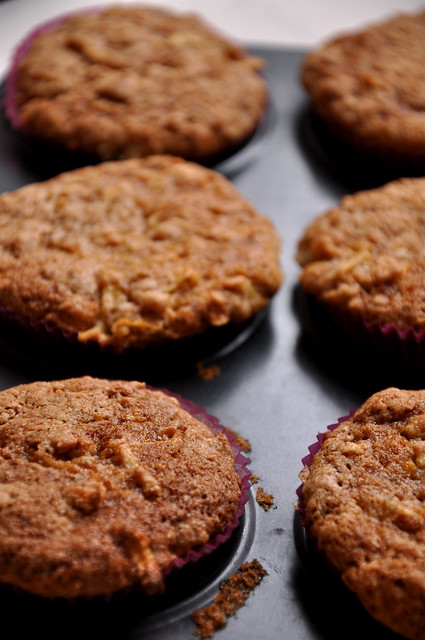
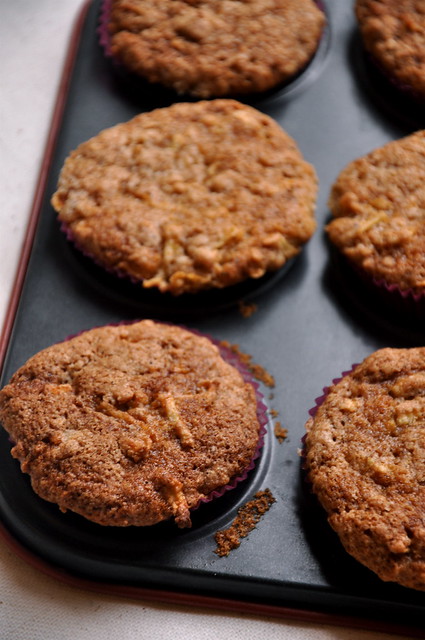
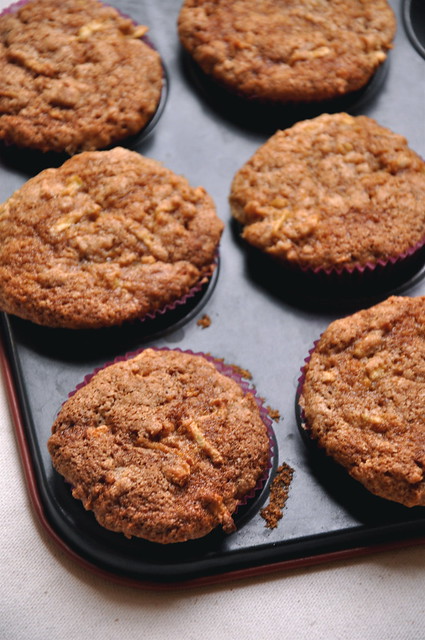
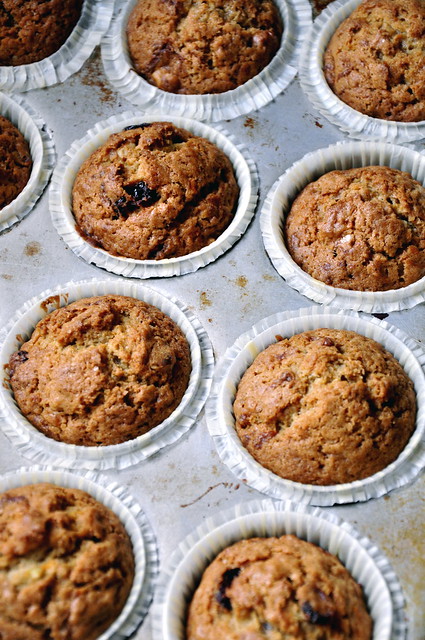
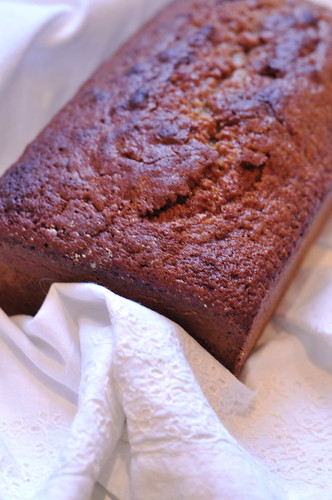
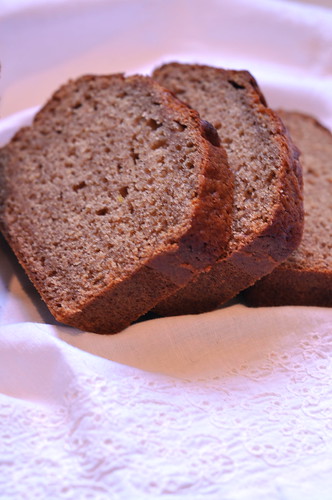
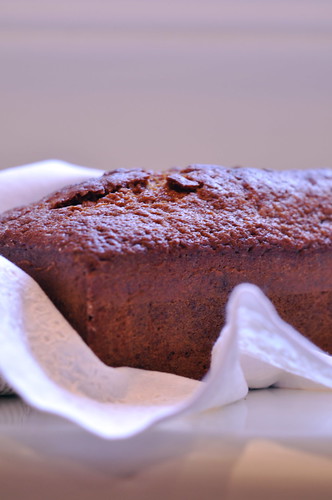
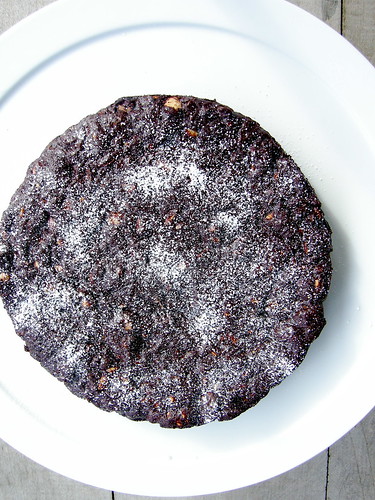
Almond Pumpkin Muffins
Makes 12
1 1/2 cups all-purpose flour
1 1/4 cup caster sugar, plus 2 tablespoons for sprinkling
1 teaspoon pumpkin pie spice
1 teaspoon baking powder
1/2 teaspoon baking soda
1/2 teaspoon sea salt
1 14-ounce can canned pumpkin
1/3 cup coconut oil
2 large eggs, lightly beaten
1/2 teaspoon almond extract
1 teaspoon cinnamon
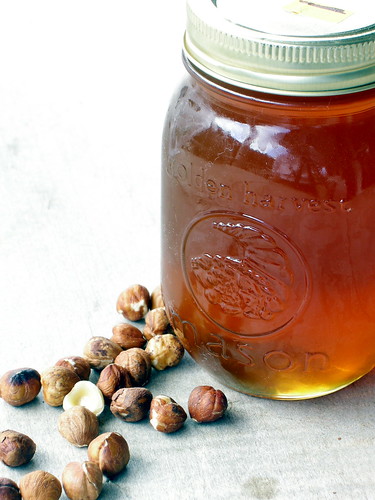
1/4 cup flaked almonds, toasted
Preheat oven to 350. Line a 12-inch muffin pan with paper muffin cups. In a medium bowl, whisk together flour, sugar, pumpkin pie spice, baking powder, baking soda, and salt. In a large bowl, whisk together canned pumpkin, coconut oil, eggs, and almond extract. Gently fold in dry ingredients until just incorporated. Divide evenly between muffin cups. In a small bowl, stir together 2 tablespoons sugar and cinnamon. Sprinkle over top of batter. Sprinkle flaked almonds on top. Bake for 30 minutes, until fragrant and a knife inserted in the center comes out clean.
.jpg)
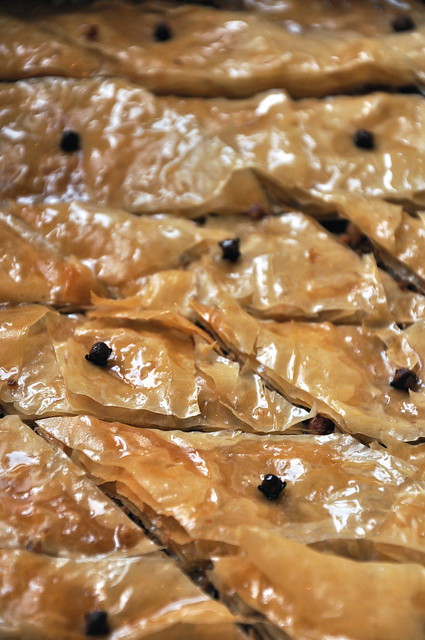
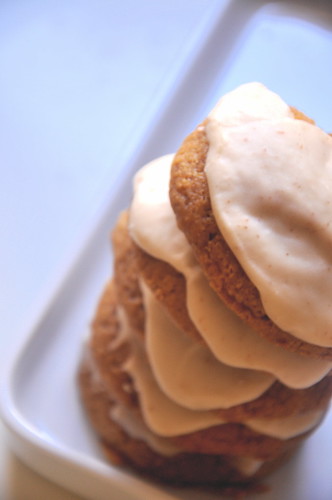
More Pumpkin Recipes